|
(vintagerods.com) HOW TO MAKE A SPIGOT FERRULE |
|||||||||||
|
|
|||||||||||
|
6. Cut at least 1/4 inch off the bottom section where the cut was made. This results in a larger I.D. (due to the taper of the blank) and enables the spigot to fit through.
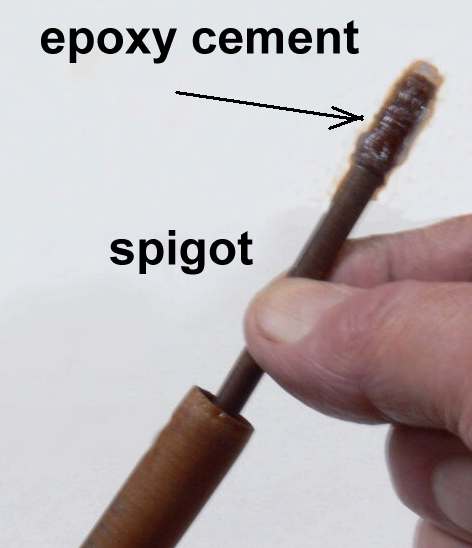
7. Slide the spigot through the lower section so it sticks out at the top. If the pencil mark that provides a 3/8 inch clearance gap shows, the spigot is ready to be cemented in place. If the spigot snugs up before the pencil mark shows, sand the bottom of the spigot and /or cut more off the bottom section. Sanding is conveniently done with the spigot in a drill motor, spinning, while sandpaper is held against it. This fitting is different for differnt taper blanks and is the hardest part of making a spigot ferrule. 8. If the spigot is thin walled, reinforce it by filling it with another blank section and epoxy cement. Very important. 9. Cement the spigot into the bottom section. To do this you will need another piece of scrap blank (or wire hanger) as long or longer that the bottom section to serve as a ram rod to push the spigot through. After applying epoxy cement to the spigot, insert it in the bottom of the lower part. The cement will keep it from dropping on its own. Push it through with the ram rod. When the tip emerges, pull it to make the final adjustment so the pencil mark is just showing. 10. Wipe off any excess cement. Close the top of the spigot with a dab of epoxy cement. Allow 24 hours for the cement to cure. 11. After the cement has cured, sand off any sharp edges at the top of the spigot. |
|
||||||||||


